Arch双系统安装与配置

前言
Arch Linux最大的特点就是干净和按需定制,它只预装了Linux和驱动程序。浏览器、桌面环境、文件管理器、记事本等应用都要通过用户自己安装。
原软硬件环境如下:
- 硬件:Intel CPU+核显,SATA固态硬盘(sda);
- 软件:启动类型为 UEFI(efi分区为sda1且大于300M);Windows 10(已安装在sda2上);sda3为共享分区;计划将 Arch Linux 安装在 sda4 分区上,开机时通过 GRUB 引导选择启动系统。
首先到Arch官网下载最新版本的镜像文件,然后使用rufus刻录到U盘,注意分区类型选择 GPT,目标系统类型选择 UEFI。BIOS关闭 Secure Boot、Fast Startup。
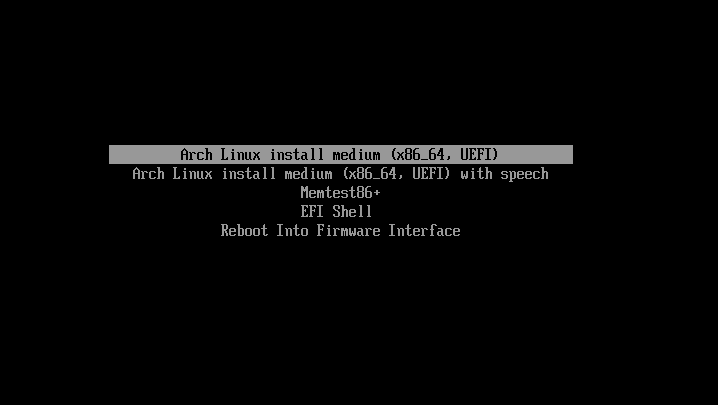
1.引导进入U盘安装
2.安装前检查
验证启动模式,返回64就是UEFI启动,只要不是特别老的电脑一般都支持UEFI
cat /sys/firmware/efi/fw_platform_size
有线网络就不用管,无线网络按以下方式连接
rfkill unblock all    #解除无线网卡的禁用
iwctl                 #进入iwctl
device list           # 列出电脑中的无线网卡,一般为wlan0
station wlan0 get-networks        #列出所有无线网络
station wlan0 connect WIFI_NAME   #连接无线网络
exit                  #退出iwctl
ping baidu.com        #检测是否连接成功
联网之后更新一下时间
timedatectl set-ntp true
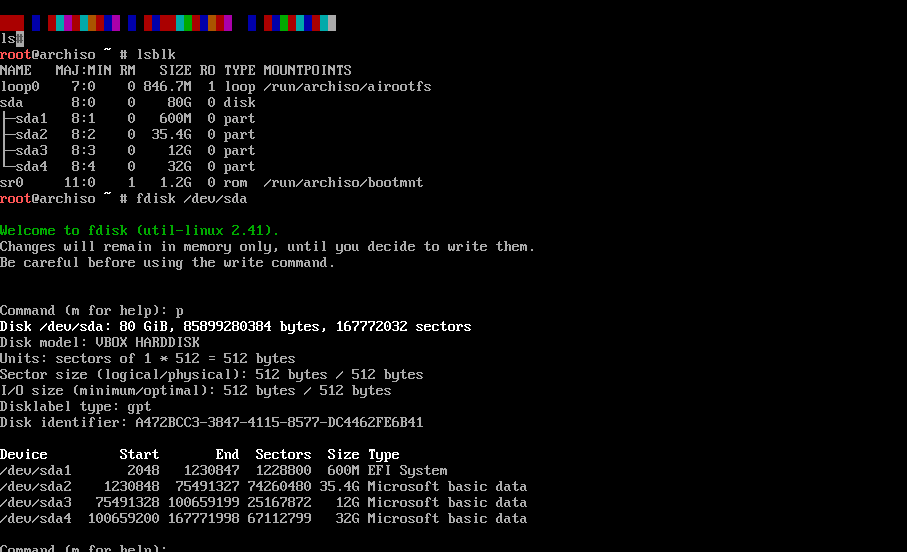
3.磁盘分区与格式化
计划使用原有EFI分区挂载为/boot分区,sda4挂载为/根目录
首先查看所有的磁盘,不包括未分配的区域:
lsblk
使用fdisk命令开始分区操作,输入p查看所有分区信息;输入n创建新的分区;输入w进行分区信息写入;输入q退出。
fdisk /dev/sda
如果不使用fdisk也可以使用cfdisk进行分区操作
cfdisk /dev/sda4 #有简易界面进行操作
退出后格式化根分区并挂载
mkfs.ext4 /dev/sda4  #格式化根目录为ext4类型
mount /ev/sda4 /mnt  #挂载根目录
mkdir /mtn/boot      #创建目录
mount /dev/sda1 /mnt/boot  #挂载EFI分区
可以使用df -h查看挂载情况
4.安装系统
修改源配置文件,修改为清华源和浙大源并保存
vim /etc/pacman.d/mirrorlist
Server = http://mirrors.tuna.tsinghua.edu.cn/archlinux/$repo/os/$arch
Server = http://mirrors.zju.edu.cn/archlinux/$repo/os/$arch
pacman -Syy   #更新包
pacstrap /mnt base base-devel linux linux-firmware  #安装基础系统
配置 fstab
genfstab -U /mnt >> /mnt/etc/fstab  #生成自动挂载分区的fstab文件
cat /mnt/etc/fstab                  #查看生成的文件是否正确
进入新系统
arch-chroot /mnt /bin/bash
5.初始化系统
设置时区
ln -sf /usr/share/zoneinfo/Asia/Shanghai /etc/localtime  ##软件时区修改
hwclock --systohc     #硬件时区修改
设置 Locale
pacman -S vim terminus-font #安装Vim和终端字体
vim /etc/locale.gen   #打开后取消注释`en_US.UTF-8`和`zh_CN.UTF-8`这两行
locale-gen            #本地化
echo 'LANG=en_US.UTF-8' > /etc/locale.conf
pacman -S wqy-microhei wqy-zenhei noto-fonts noto-fonts-cjk noto-fonts-extra  #安装中文字体
设置 hostname 和 root 密码
echo arch > /etc/hostname
echo '127.0.0.1 localhost' > /etc/hosts
echo '::1 localhost' > /etc/hosts
echo '127.0.1.1 arch.localdomain arch' > /etc/hosts
passwd   #修改root密码
创建用户
useradd -m -G wheel -s /bin/bash frazy    #创建用户、创建主目录、分组、指定shell
passwd frazy                              #设置密码
vim /etc/sudoers    #打开后取消注释 `%wheel ALL=(ALL) ALL` 以添加wheel组权限
安装 Intel-ucode
cat /proc/cpuinfo       #查看cpu型号
pacman -S intel-ucode   #intelCPU安装
安装 Bootloader引导
pacman -S os-prober grub efibootmgr    #安装grub引导
grub-install --target=x86_64-efi --efi-directory=/boot --bootloader-id=GRUB #部署
vim /etc/default/grub    #打开后取消注释'GRUB_DISABLE_OS_PROBER=false'
grub-mkconfig -o /boot/grub/grub.cfg   #生成grub配置文件
cat /boot/grub/grub.cfg |grep Windows  #检查Windows引导是否生成成功
6.安装桌面环境
安装显卡驱动
lspci | grep -e VGA -e 3D          #查看显卡
pacman -Ss xf86-video              #查询所有开源驱动
sudo pacman -S xf86-video-intel    #安装intel核显驱动
安装 Xorg
pacman -S xorg #安装显示服务
安装sddm
pacman -S sddm             #安装桌面登录管理
systemctl enable sddm      #设置开机自启
安装Plasma桌面
pacman -S plasma-meta konsole dolphin
退出 Arch 系统
exit
取消挂载分区
umount /mnt/boot
umount /mnt
重启
reboot
7.安装后配置
重启后进入桌面,安装中文字体
pacman -S noto-fonts noto-fonts-cjk noto-fonts-extra noto-fonts-emoji ttf-dejavu ttf-liberation
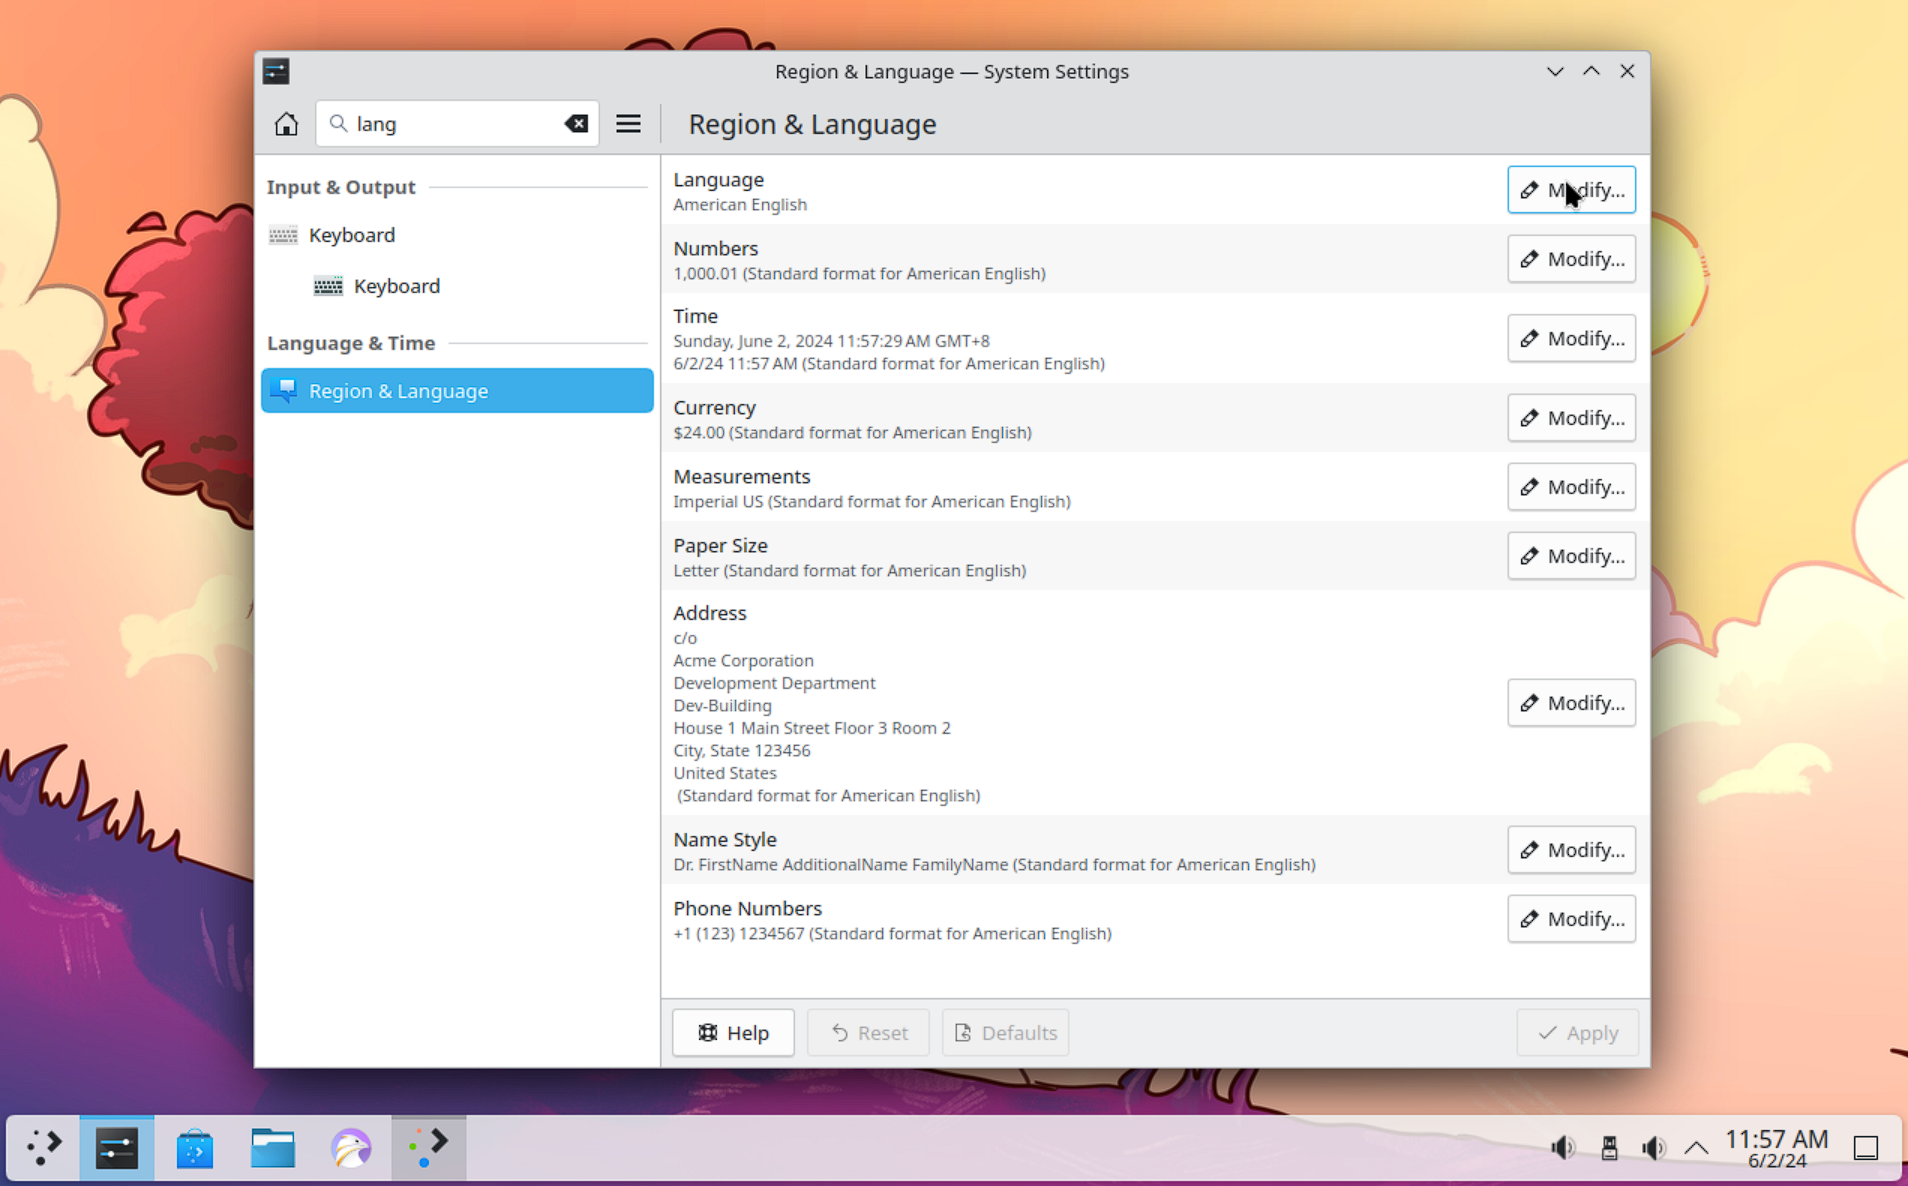
更改语言为简体中文
安装 ntfs-3g 来挂载 NTFS 分区
sudo pacman -S ntfs-3g
配置网络
pacman -S networkmanager            #安装网络管理器
systemctl enable NetworkManager     #开机自启
pacman源配置
vim /etc/pacman.d/mirrors     #打开后添加源

Server = http://mirrors.aliyun.com/archlinux/$repo/os/$arch   # 阿里云
Server = https://mirrors.tuna.tsinghua.edu.cn/archlinux/$repo/os/$arch  # 清华大学
vim  /etc/pacman.conf   #打开后添加第三方源

[archlinuxcn]
# The Chinese Arch Linux communities packages.
SigLevel = Optional TrustAll
Server = https://mirrors.tuna.tsinghua.edu.cn/archlinuxcn/$arch  # 清华大学第三方源
Server = https://mirrors.ustc.edu.cn/archlinuxcn/$arch  #中国科学技术大学第三方源
刷新源并添加密钥
pacman -Syy
pacman -S archlinuxcn-keyring
开启 multilib
sudo vim /etc/pacman.conf #取消注释multilib对应的内容
安装 yay和git
pacman -S yay git
安装蓝牙
pacman -Sy bluez bluez-utils blueman
systemctl start bluetooth.service
systemctl enable bluetooth.service
yay -S pulseaudio-bluetooth
安装中文输入法
pacman -S fcitx5-im fcitx5-rime
yay -S fcitx5-input-support
#设置->输入和输出->键盘->虚拟键盘,选择Fcitx5
#使用白霜拼音方案
cd ~/.local/share/fcitx5/rime
git clone --depth 1 https://github.com/gaboolic/rime-frost
cp -r ./rime-frost/* .
#重启fcitx5
修改环境变量
echo "export GTK_IM_MODULE=fcitx5" >> ~/.xprofile
echo "export QT_IM_MODULE=fcitx5" >> ~/.xprofile
echo "export XMODIFIERS=@im=fcitx5" >> ~/.xprofile
echo "fcitx5 &" >> ~/.xprofile
source ~/.xprofile
可选安装应用商店
sudo pacman -S packagekit-qt6 packagekit appstream-qt appstream discover
yay -Syu pamac-aur #设置启用
安装其他软件
pacman -S yay steam steam-native-runtime filezilla git zsh mpv ffmpeg scrcpy zip unzip neofetch
yay -S google-chrome wps-office ttf-wps-fonts wiznote teamviewer cheese peek calibre v2raya baidupcs

#搜索软件
pacman -Ss name
yay -Ss name

#清除所有下载的包和数据
sudo pacman -Scc

#查看包是否已经安装
pacman -Q name

#卸载不需要的软件
sudo pacman -R name
Linux软件列表 Awesome-Linux-Software
双系统时间同步问题
timedatectl set-local-rtc 1
参考: